
Last updated September 23, 2026
DIY vs Professional Insulation: The Glendale Homeowner’s Decision Guide
Renting a blower from Home Depot and adding cellulose over existing insulation takes about four hours in a simple Glendale attic. It also locks in whatever air leakage existed before - and in a 1955 bungalow with original top-plates, that leakage is typically equivalent to leaving a window open year-round. We’ve sealed and insulated over 9,000 homes since 2016, and the pattern is consistent: the insulation that performs best in Glendale’s hot, dry climate is the insulation installed after the envelope is sealed, measured, and documented. This guide defines exactly when DIY makes sense, when it doesn’t, and how to tell which category your attic falls into before you spend a dollar on materials - or read how to hire a insulation contractor in Glendale if you decide professional help is the better route.
Quick Answer
DIY insulation in Glendale is viable for exactly one scenario: adding faced batts to an accessible, already-air-sealed, unobstructed attic floor with no mechanical equipment present. In every other configuration - blown-in over existing material, spray foam of any kind, attics with wiring or pest issues, or any space that hasn’t had a blower-door test - the risks of moisture trapping, fire code violations, and wasted material exceed the labor savings. A professional job includes air sealing, documented performance testing, and the insulation certificate required for utility rebates and resale.
Table of Contents
- When DIY Insulation Makes Sense in Glendale
- The Three Green Lights for a DIY Blown-In Job
- The Four Red Lines: When DIY Becomes Risky
- The Real Cost Comparison for a 1,200 Sq Ft Glendale Attic
- The Documents a DIY Job Cannot Produce
- The $150 Diagnostic That Prevents a $3,000 Mistake
- Common Mistakes to Avoid
- When to Call a Professional
- Frequently Asked Questions
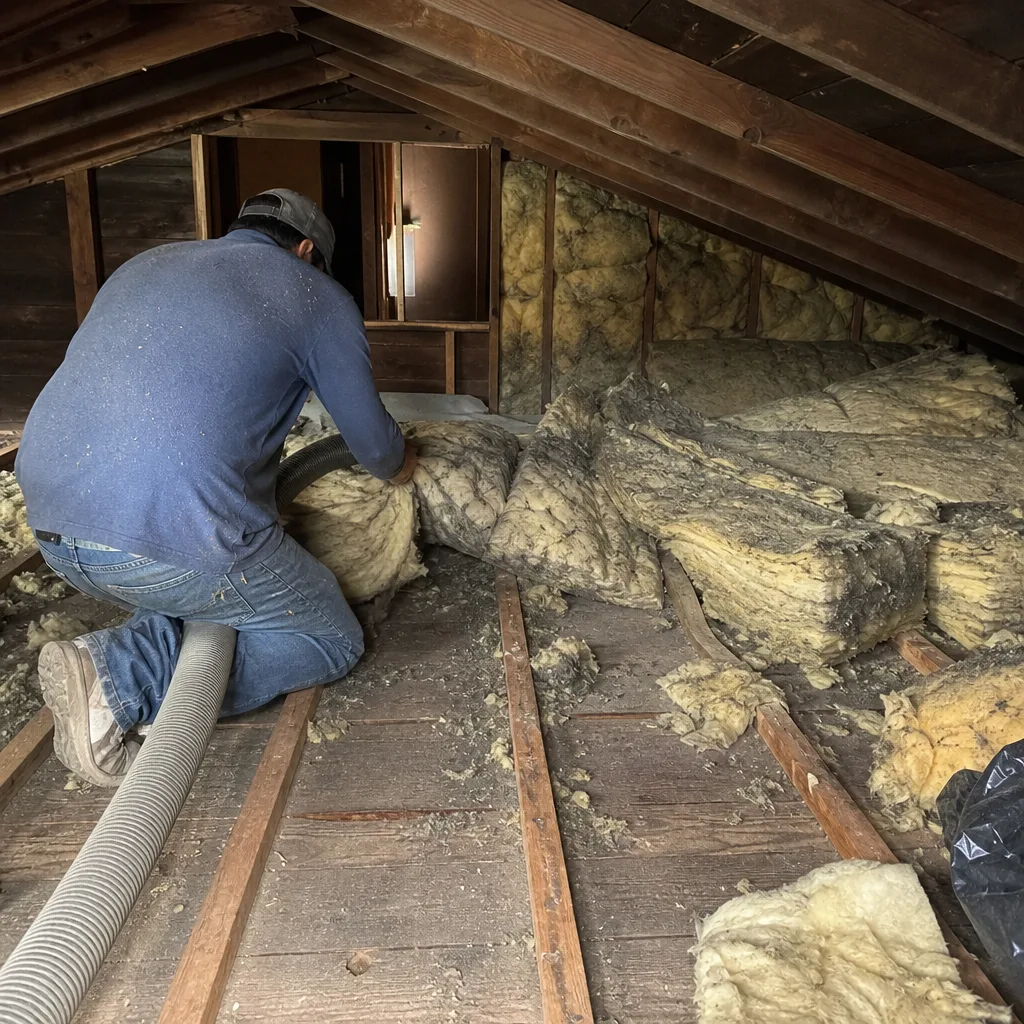 Before
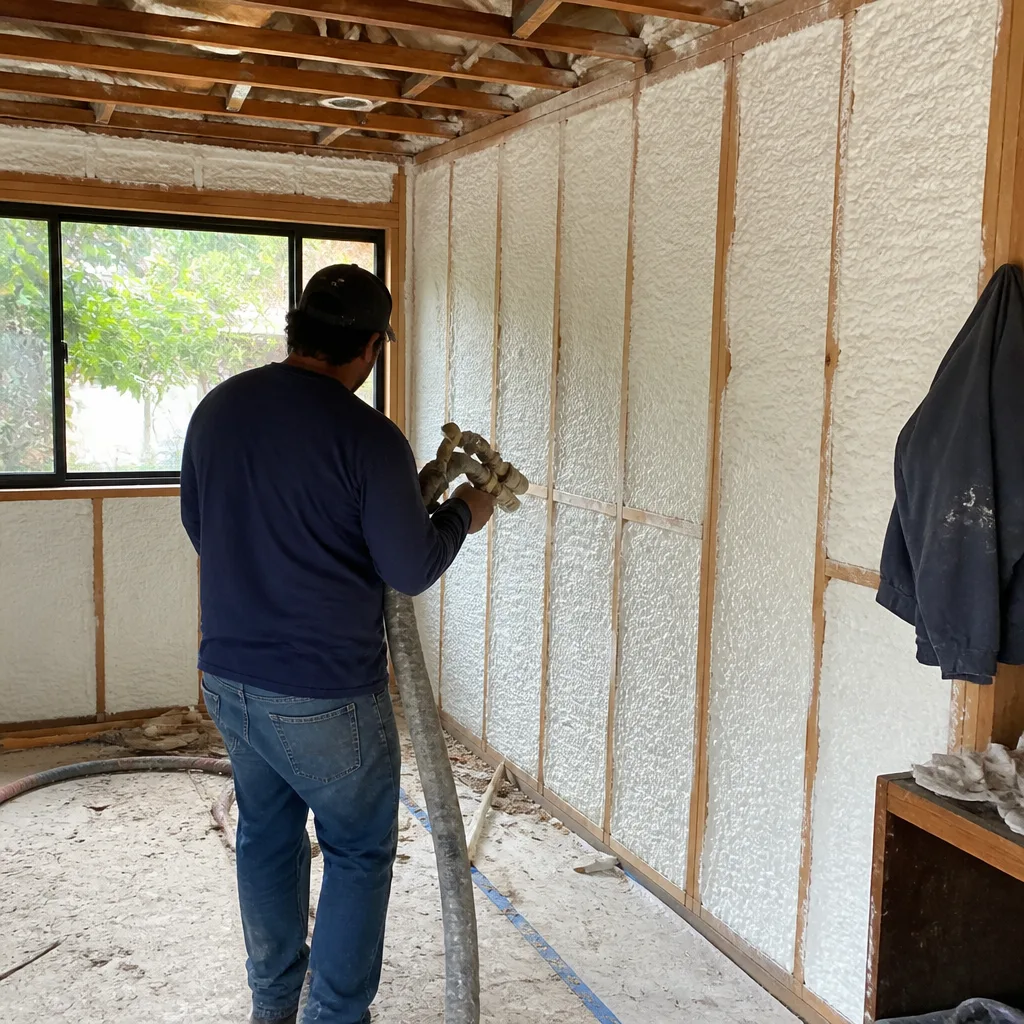 After
AfterWhen DIY Insulation Makes Sense in Glendale
Glendale’s housing stock is specific. The city has thousands of postwar bungalows in neighborhoods like Rossmoyne and Adams Hill, mid-century ranch homes in Verdugo Woodlands, and newer construction in the foothills below the San Gabriel Mountains. Each era carries different attic conditions, and only some permit safe DIY work.
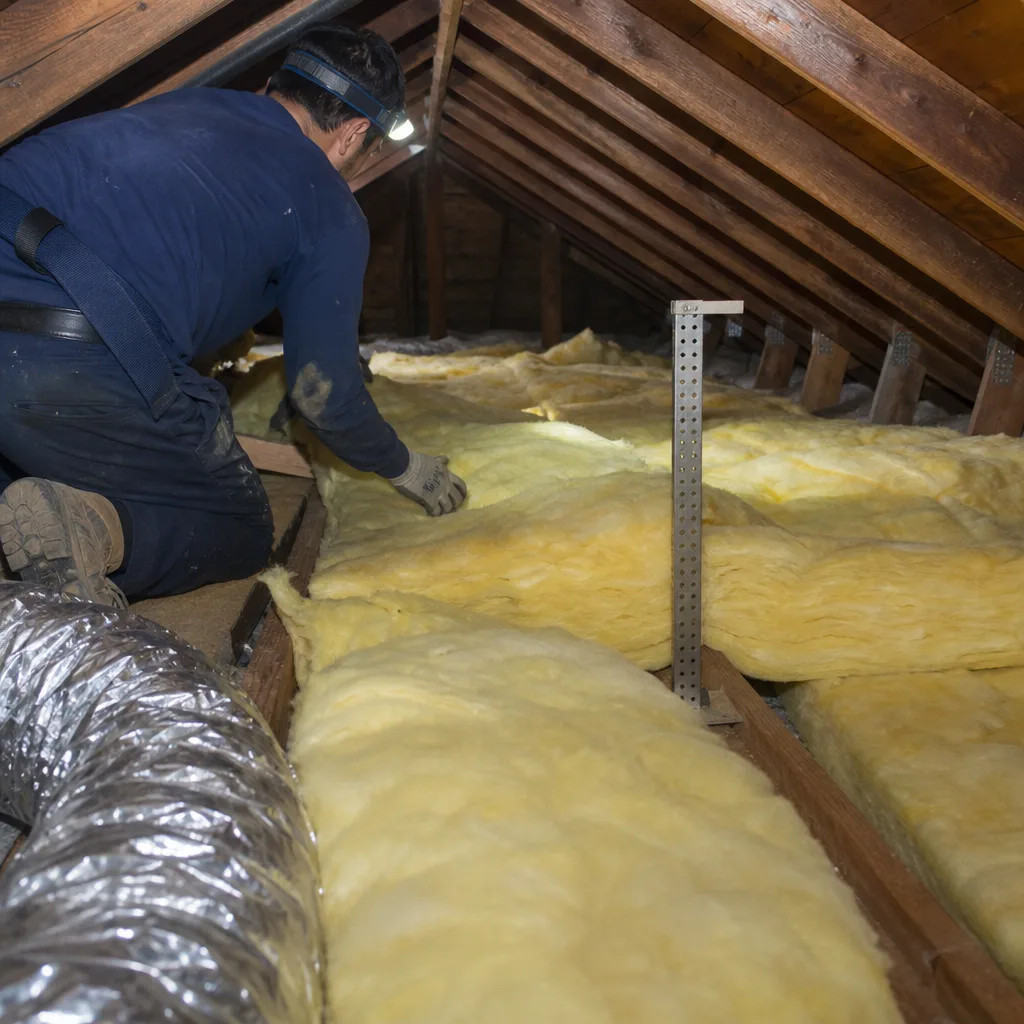
The single scenario where we tell homeowners to proceed without us: a clean, dry, accessible attic with faced fiberglass batts laid between joists that are already at or near full depth, no HVAC equipment present, no wiring concerns, and a recent blower-door test confirming the envelope is tight. In this case, you’re not solving a performance problem; you’re topping off existing insulation that was installed correctly the first time. The work is straightforward, the safety risks are minimal, and the material cost is the only significant expense.
Even here, there are caveats. Glendale’s summer temperatures regularly exceed 95°F, and attic temperatures can reach 140°F. Work in early morning. Wear a respirator rated for fiberglass, not a dust mask. And understand that adding batts over air leaks - the gaps around plumbing stacks, electrical penetrations, and top plates where walls meet the ceiling - does not stop the air movement that degrades insulation performance. It simply buries the problem.
We’ve inspected attics in the Glenwood area where homeowners added R-38 batts over original R-19, only to find that conditioned air was still streaming through unsealed can light housings. The new insulation compressed and performed at roughly half its rated R-value within five years. The homeowner spent $800 on material and a Saturday morning. The fix - removing the new batts, sealing the leaks, and reinstalling - cost $2,400.
If your attic matches the narrow conditions above, DIY is reasonable. If it deviates in any respect, the next sections explain why professional scope becomes necessary.
The Three Green Lights for a DIY Blown-In Job
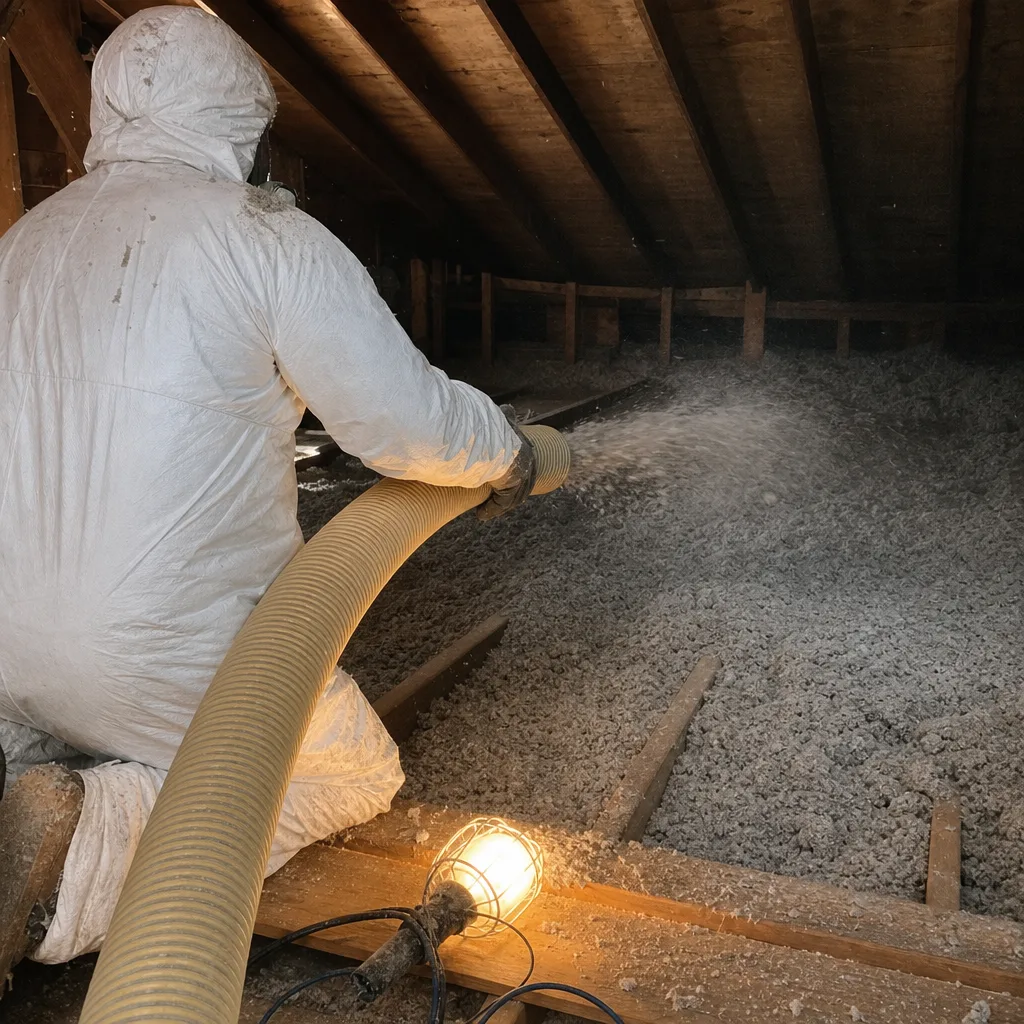
Blown-in cellulose or fiberglass is the most common DIY insulation project in Glendale. The material is inexpensive, the rental blowers are available at most hardware stores, and the process looks simple on YouTube. But three conditions must all be true for the job to succeed. Miss one, and you’re likely wasting material or creating a problem that costs more to fix than professional installation would have.
Green Light 1: Clean, Dry Existing Material
Lift a corner of your existing insulation. If it’s uniformly colored, dry to the touch, and shows no dark streaking or compaction, the substrate is sound. Dark streaks indicate air filtration - conditioned air moving through the material and depositing dust - which means leaks are active. Compaction indicates moisture history, even if the material feels dry now. In either case, adding new material over the old seals in the evidence and often the problem. We’ve removed insulation in Glendale homes where decades of roof leaks had created wet layers beneath dry top surfaces. The homeowners smelled nothing. The mold was extensive.
Green Light 2: No Evidence of Rodent Activity or Moisture Damage
Inspect the attic perimeter and near any penetrations. Look for droppings, tunnels through existing insulation, or grease marks along framing. Glendale’s hillside neighborhoods - Chevy Chase Canyon, Whiting Woods - have active roof rat populations that use attics as highway corridors. If you find evidence, stop. Blowing insulation over rodent activity buries contaminated material, violates manufacturer warranties, and creates a health hazard. Professional remediation, including removal, sanitization, and rodent proofing, must precede any new insulation.
Moisture damage shows as stained decking, corroded nail heads, or insulation that clumps rather than fluffs. Glendale’s winter rains are brief but intense, and older homes often have compromised flashing or degraded vent seals. A single season of moisture can degrade cellulose’s fire-retardant treatment and reduce its effective R-value by 20%.
Green Light 3: Blower-Door Test Completed, ACH50 Below 7
This is the condition almost no DIY attic meets - and it’s the one that matters most. A blower-door test, a pressurization reading that shows in one number how much air your building envelope is losing, is the only way to know whether your attic floor is leaking before you cover it. ACH50 (air changes per hour at 50 pascals of pressure) below 7 indicates a reasonably tight envelope for a retrofit. Above 10, and you’re insulating over significant leakage. Between 7 and 10, you’re in a gray zone where targeted air sealing should precede insulation.
We’ve tested homes in the Montrose-Verdugo City corridor built in the 1940s with original lath-and-plaster ceilings that scored ACH50 of 18. The owners had received three insulation quotes, none of which mentioned air sealing. Blowing cellulose over that attic floor would have cost $1,200 and produced almost no comfort improvement. After sealing top plates, electrical penetrations, and the chimney chase, then adding insulation, the same homeowners saw their summer cooling load drop 34%.
Without a blower-door number, you’re guessing. The test costs $150-$300 in Glendale and takes under two hours. It’s the cheapest insurance against a wasted insulation job.
The Four Red Lines: When DIY Becomes Risky
Certain attic conditions transform DIY insulation from a manageable weekend project into a genuine hazard or code violation. These are not matters of preference or skill level. They are hard boundaries that professional training, equipment, and permitting are designed to address.
Red Line 1: Spray Foam Application Anywhere
Spray polyurethane foam - whether open-cell or closed-cell - requires EPA Section 608 awareness for refrigerant-containing spaces, respiratory protection beyond consumer-grade (supplied-air respirators for two-component chemicals), and precise substrate temperature and humidity control. The exothermic reaction generates heat that can ignite improperly mixed material. Off-ratio foam crumbles, shrinks, and traps moisture against sheathing.
We’ve been called to homes in the Emerald Isle area where DIY spray foam kits from big-box stores had been applied to knee walls. The foam shrank 30% within a year, creating gaps that funneled attic air into conditioned space. Removal required grinding the material back to studs - a $4,800 correction on a $600 DIY attempt. Professional spray foam installation in Glendale uses certified installers, real-time ratio monitoring, and thermal imaging during application to verify complete coverage.
Red Line 2: Knob-and-Tube Wiring Present
Glendale’s pre-1950 housing stock frequently contains active knob-and-tube wiring. California Electrical Code, based on NEC 394.12, prohibits covering this wiring with thermal insulation without an electrical upgrade. The insulation traps heat, degrades the rubber and cloth conductor insulation, and creates a fire hazard. Identifying knob-and-tube requires knowledge of what to look for - ceramic knobs nailed to framing, single conductors running through porcelain tubes at penetrations - and the judgment to know when a circuit is truly abandoned versus merely spliced into modern wiring upstream.
We’ve found live knob-and-tube in attics where homeowners believed it had been fully replaced. In one 1926 home on Loraine Avenue, three separate circuits were still active, buried under decades of blown-in fiberglass. The insulation had to be fully removed, the wiring replaced, and the attic re-insulated. The DIY attempt that preceded our involvement had compounded a safety issue into a code violation.
Red Line 3: Active Pest Evidence
As noted earlier, rodent activity requires professional remediation. But the prohibition extends to any active pest presence - termite tunnels in framing, carpenter ant frass, or bat colonies in eaves. Insulation installation disturbs these habitats, disperses contaminants, and often violates wildlife protection regulations. Bat exclusion in California has specific seasonal restrictions. Disturbing a maternity colony can result in state penalties.
Red Line 4: Less Than 30 Inches of Clearance
Working in attics with limited headroom - common in Glendale’s older story-and-a-half homes and some ranch additions - requires specific safety protocols. The OSHA general duty clause applies to residential work, and professional crews use walkboards, harness anchors, and spotters to prevent falls through ceiling drywall. A homeowner working alone with a blower hose in a 24-inch clearance space is at genuine risk of stepping off a joist, contacting live wiring in poor visibility, or becoming stranded by heat exhaustion. Glendale Fire Department responds to approximately a dozen attic-related falls and heat emergencies annually. Most involve homeowners.
The Real Cost Comparison for a 1,200 Sq Ft Glendale Attic
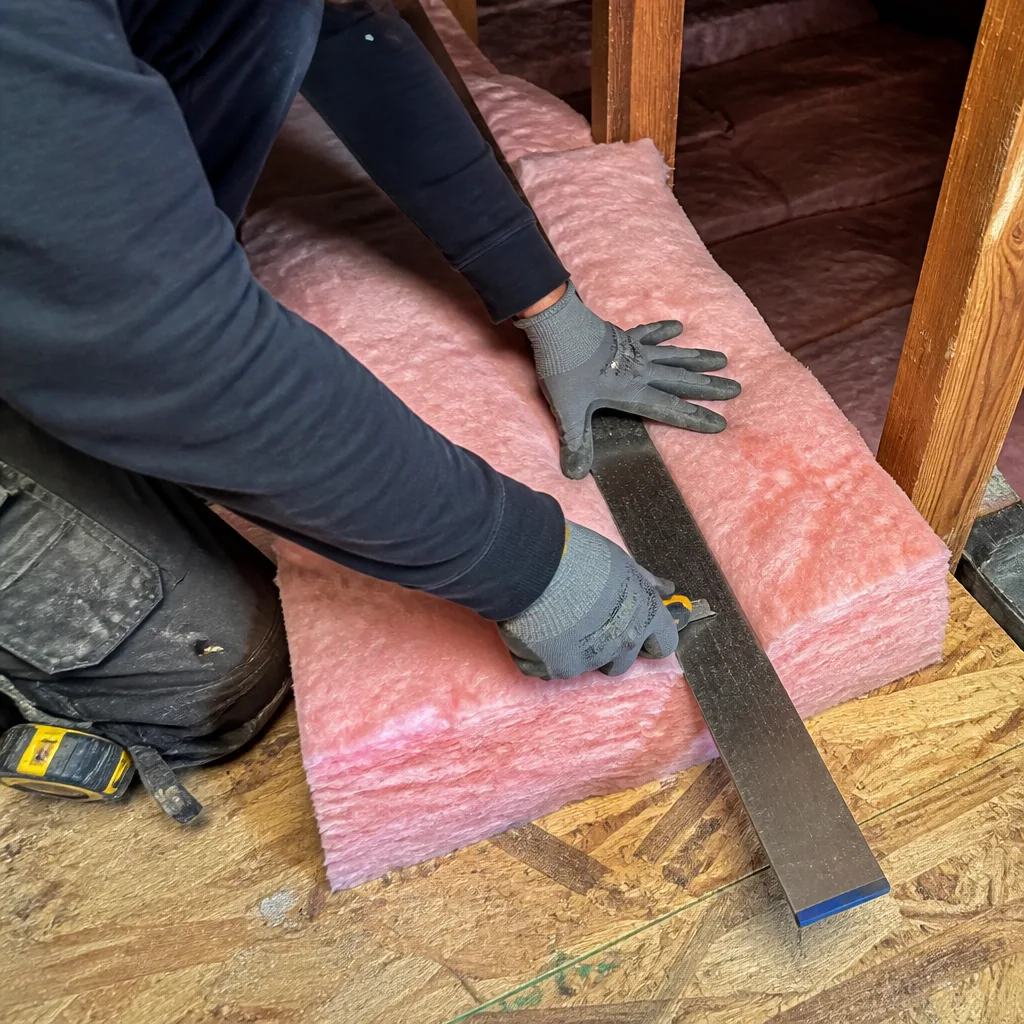
Cost comparisons between DIY and professional insulation are usually presented as material versus labor, which misses most of what determines actual value - a gap our Insulation Cost Breakdown for Glendale homeowners closes with full project accounting. Below is the full accounting for a typical 1,200 square foot attic in Glendale, with the assumptions stated explicitly.
Scenario assumptions: Single-story home, 1,200 sq ft footprint, existing insulation at R-19 (approximately 6 inches of fiberglass), target of R-49 (per Title 24 energy code for Glendale’s climate zone). Attic has moderate air leakage, no active pests, standard 8/12 pitch with 4-5 feet of clearance at ridge.
DIY Blown-In Cellulose Route
| Item | Cost | Time |
|---|---|---|
| Material: 40 bags GreenFiber cellulose (coverage to R-49) | $520-$580 | Pickup + transport |
| Blower machine rental (24-hour) | $75-$95 | Pickup, return |
| Respirator, coveralls, eye protection | $45-$65 | - |
| Attic prep: baffles, damming, light covers | $80-$120 | 2 hours |
| Permit application (Glendale Building & Safety) | $180-$250 | 4-6 hours (two visits typical) |
| Installation labor (homeowner) | $0 | 6-8 hours |
| Cleanup, disposal | $0-$40 | 1 hour |
| DIY Total | $900-$1,150 | 14-18 hours |
Professional Install with Air Sealing and Verification
| Item | Cost | Time |
|---|---|---|
| Air sealing: top plates, penetrations, can lights, chimney chase | Included in scope | 4-5 hours (crew of 2) |
| Blown-in fiberglass or cellulose to R-49 | Included in scope | 2-3 hours |
| Baffles, damming, light covers | Included in scope | - |
| Before-and-after blower-door test | Included in scope | 1 hour |
| Permit, inspection coordination | Included in scope | 0 homeowner hours |
| Documented Photo Record, written warranty | Included in scope | - |
| Professional Total | $2,400-$3,200 | 0 homeowner hours; 1 day crew presence |
The price gap is real: $1,500-$2,000 separates the two routes. But the comparison only holds if the DIY job achieves equivalent performance, which it does not without air sealing and verification. We’ve measured post-DIY attics in Glendale that tested at ACH50 improvements of 2-3% - effectively nothing - because the leakage paths were still open. Professional jobs with air sealing typically achieve 25-40% reduction in air leakage, which translates to measurable cooling load reduction in a climate where air conditioning runs six months annually.
The break-even calculation depends on utility rates and home efficiency. At current Southern California Edison rates and typical cooling loads, a professional job with verified air sealing pays back in 4-7 years versus DIY without sealing. The professional job also carries a written warranty and the 365-Day Done Right Promise.
The Documents a DIY Job Cannot Produce
Homeowners rarely think about documentation until they need it. Three documents, all standard in professional work, are unavailable to DIY installations - and each becomes critical at specific moments in homeownership.
1. Signed Insulation Certificate
California Title 24 requires insulation certificates for new construction and significant alterations. While not strictly mandated for simple retrofits, the certificate is required for utility rebate programs - including Glendale Water & Power’s efficiency incentives - and is increasingly requested by buyers during resale inspection. The certificate specifies installed R-value, coverage area, and installer certification. A homeowner cannot self-certify.
2. Pre- and Post-Blower-Door Data
This is the performance record that proves the work achieved something. We provide before-and-after blower-door numbers on every applicable job - a pressurization measurement that shows, in a single figure, how much conditioned air the home was losing before and after the work. A typical Glendale home might test at 3,800 CFM50 before air sealing and 2,400 CFM50 after. That 37% reduction is documented, dated, and referenced to the specific work scope. DIY has no equivalent. You can hire a separate energy auditor after your work, at $300-$500, but without the pre-work baseline, you cannot isolate the insulation’s contribution from other variables.
3. HERS Field Verification
The Home Energy Rating System (HERS) provides third-party verification for energy efficiency claims. HERS raters are certified by the California Energy Commission and can document that insulation was installed to plan, with proper density, coverage, and air sealing detail. This verification is mandatory for new construction and additions over 1,000 square feet. For retrofits, it’s voluntary - but it’s the gold standard for buyers who want assurance that efficiency claims are real. We’ve had Glendale homeowners in the Somerset area request HERS verification specifically because they planned to sell within five years and wanted transferable documentation.
Under Haven Standard: Every job begins with a written price and ends with a documented record. The photos, the blower-door readings, the written scope - you know what leaving looks like before we arrive. DIY cannot replicate this chain of evidence.
The $150 Diagnostic That Prevents a $3,000 Mistake
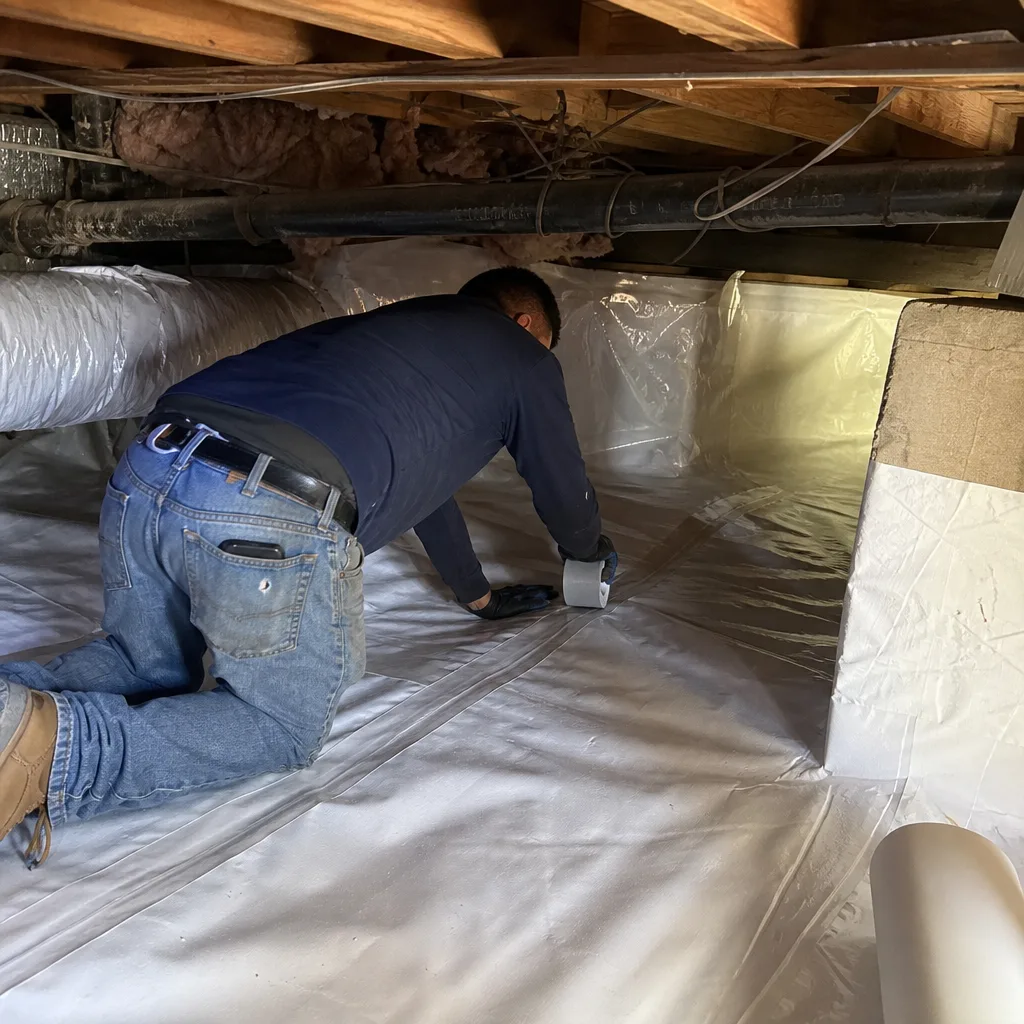
The boundary between DIY-viable and professional-required is not always visible from the attic hatch. We’ve developed a one-hour paid diagnostic visit specifically to resolve this uncertainty before homeowners commit to either path.
Here’s what the diagnostic includes:
- Attic condition assessment: We photograph existing insulation depth, material type, and any evidence of moisture, pests, or degradation. We inspect for knob-and-tube wiring, damaged ductwork, and structural concerns.
- Blower-door test: We run a full pressurization test and explain your ACH50 number in context - how it compares to similar Glendale homes, what leakage paths are likely dominant, and what improvement is realistically achievable.
- Written findings: You receive a one-page summary with photos, the blower-door reading, and our recommendation: proceed with DIY (with specific prep notes), hire us for air sealing only then DIY the insulation, or full professional scope. There is no obligation to hire us for the follow-up work.
The diagnostic costs $150. We’ve had homeowners in the Kenneth Village area use our findings to complete successful DIY jobs - we told them exactly which penetrations to seal with fire-rated caulk, where to install baffles, and what depth to shoot for. We’ve had others learn that their $800 material budget was about to be wasted on an attic with active roof leaks and degraded R-11 that needed full removal. The $150 prevented a $3,000 do-over.
This is not a sales call disguised as analysis. We charge for the hour because the findings have value regardless of who does the work. Under Haven Standard: Have it in writing. The diagnostic report is yours to keep, share with other contractors, or file for your records.
Common Mistakes to Avoid
- Installing insulation over unsealed can lights. Recessed light housings in pre-2010 Glendale homes are rarely IC-rated (insulation contact). Covering them with cellulose or fiberglass creates a fire hazard and funnels attic air into conditioned space through the fixture gaps. Proper solution: replace with IC-rated LEDs or install fire-rated covers before insulating.
- Blocking soffit vents with new material. Glendale homes need active attic ventilation to shed summer heat. Blowing insulation tight to the eaves without baffles chokes airflow, raises shingle temperatures, and can void roofing warranties. We inspect vented soffits in every job - most DIY jobs omit this step entirely.
- Compressing fiberglass batts to fit irregular spaces. Fiberglass achieves rated R-value only at full loft. Stuffing a batt into a narrow cavity cuts its performance by half. Blown-in material conforms to irregular framing; batts do not. Choose the right product for the cavity geometry.
- Ignoring conditioned attic implications. Some Glendale hillside homes have HVAC equipment in the attic and are designed as conditioned spaces (insulation at roofline, not floor). Adding floor insulation to these attics is not just ineffective - it can disrupt the thermal boundary and cause moisture accumulation at the roof deck. A diagnostic visit identifies this condition in ten minutes; a homeowner might never recognize it.
- Using faced batts as top layer. The facing is a vapor retarder designed for contact with conditioned space. Installing faced batts over existing insulation traps the facing in the wrong location, creating a potential moisture barrier where none should exist. Unfaced batts or blown-in material are correct for top-up applications.
- Skipping the permit. Glendale Building & Safety requires permits for insulation work that exceeds $500 in value or alters the thermal envelope. Unpermitted work must be disclosed at sale and can trigger retrofit requirements. The permit process is straightforward - we handle it on every job - but DIY homeowners often skip it, creating a future liability.
When to Call a Professional
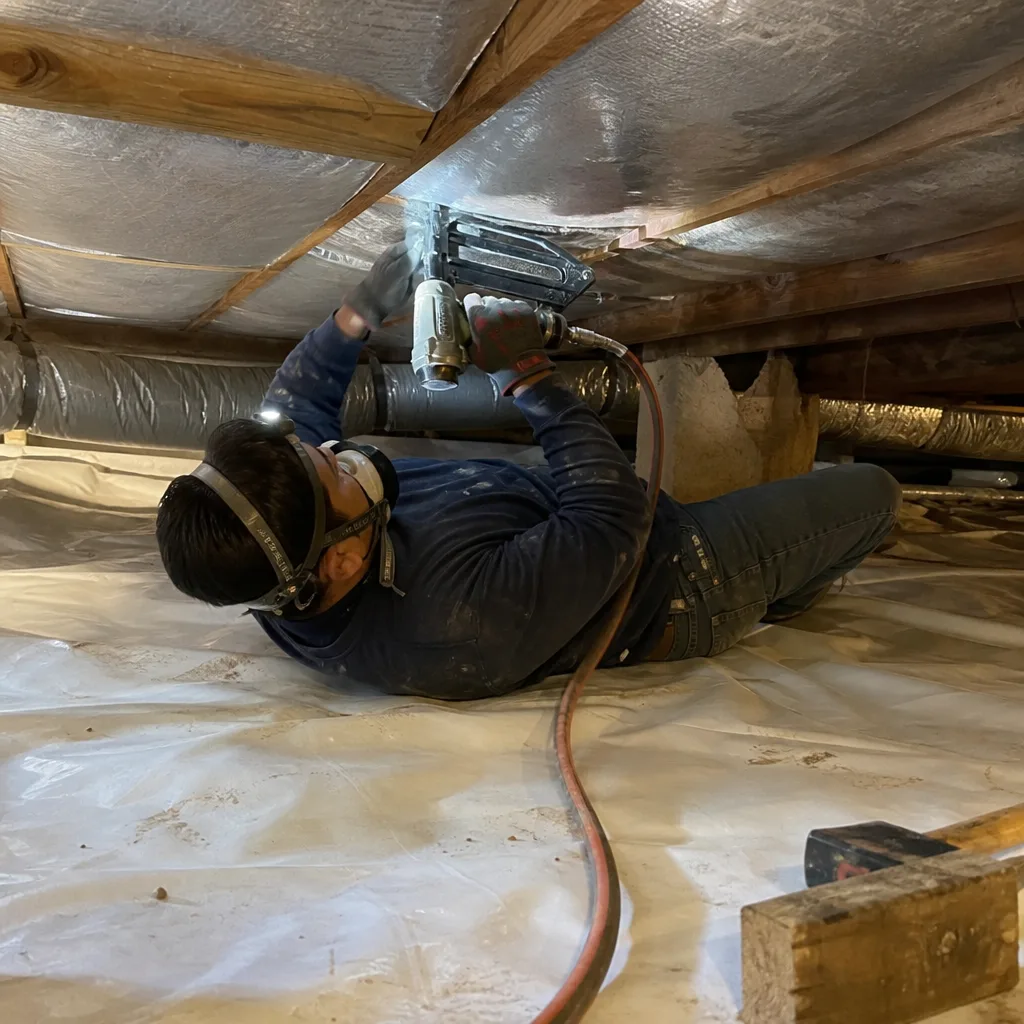
Call a professional when your attic deviates from the narrow DIY-viable scenario: if you need spray foam, if any wiring predates 1950, if you’ve seen pests or moisture, if clearance is under 30 inches, or if you don’t have a recent blower-door number. Call a professional when you need documentation for rebates, resale, or your own verification that the work performed as intended. Topside Attic Insulation Glendale offers free estimates in Glendale - call (213) 474-3828. Every estimate includes a written price before any work starts, a documented scope, and the 365-Day Done Right Promise. We’re independently owned and operated under The Haven Standard since 2016.
Frequently Asked Questions
Most attic insulation jobs in a 1,200 square foot Glendale home run between $2,400 and $3,200 when air sealing and blower-door verification are included. Smaller homes or simpler scopes may fall below this range; larger homes, spray foam applications, or jobs requiring insulation removal first will exceed it. We provide a written price before any work starts - no exceptions. Call (213) 474-3828 for an exact quote; estimates are free.
Repair - adding material over sound existing insulation - is cheaper when the substrate is clean, dry, and uncontaminated. Replacement is necessary when there’s moisture damage, pest activity, or degraded material that would compromise new insulation. We’ve found that roughly 40% of Glendale attics we inspect need some removal before new material goes in. The diagnostic visit determines which category applies to your home.
Air sealing and blown-in insulation can often be completed in a single day for standard attic scopes. Jobs requiring insulation removal, spray foam curing, or extensive electrical coordination may extend to two days. We schedule with a named technician and text when they’re en route - under Haven Standard: Arrive on schedule. Call (213) 474-3828 to check current availability.
Blown-in fiberglass or cellulose to R-49 at the attic floor performs well in Glendale’s hot, dry climate when paired with comprehensive air sealing. For conditioned attics or cathedral ceilings, spray foam at the roofline provides superior air barrier performance. We source materials from Owens Corning, Johns Manville, Knauf, and Rockwool - selecting the product that matches your specific attic conditions, not pushing a proprietary line.
Yes, if the work exceeds $500 in value or alters the thermal envelope. Glendale Building & Safety issues permits for insulation work and requires inspection for compliance with Title 24 energy standards. We pull permits on every job and coordinate inspections; the permit fee and inspection time are included in our written price. DIY homeowners must handle permitting themselves or risk disclosure issues at resale.
The only reliable method is a blower-door test - a pressurization reading that shows, in one number, how much air your building envelope is losing. Visual indicators like dirty insulation, cobwebs near penetrations, or temperature variations across the ceiling suggest leakage but don’t quantify it. We include blower-door testing on every applicable job and offer the $150 diagnostic for homeowners considering DIY. Call (213) 474-3828 to schedule.
The Bottom Line
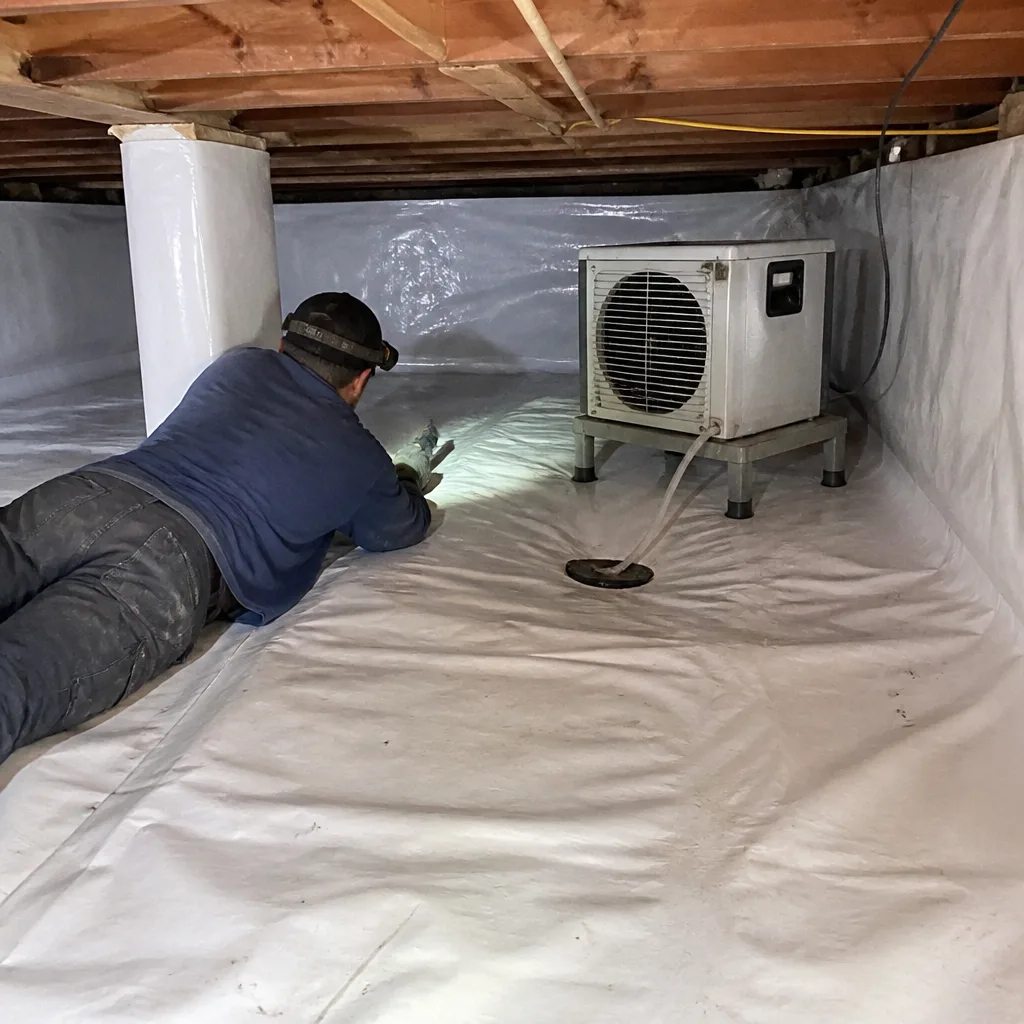
DIY insulation in Glendale works in exactly one configuration: a clean, dry, accessible, already-sealed attic with no complicating factors. Every other scenario - which describes most of the housing stock in this city - benefits from professional air sealing, material selection, code compliance, and performance verification. The cost difference is real, but so is the performance gap and the documentation gap. Before you rent a blower or buy batts, spend $150 on a diagnostic that tells you which category your attic actually falls into. The number you get - your blower-door reading - is more useful than any general advice. Under Haven Standard, we publish that number, seal the leaks first, and prove the result. Since 2016, we’ve done this for over 9,000 homes. We’d rather show you your attic’s actual condition than sell you insulation you don’t need.
Written by Wes Okafor, Owner at Topside Attic Insulation Glendale, serving Glendale since 2016.